Overview
This build guide walks you through how to build the 📱+ 🎮.

Kit Contents
- PCB
- rp2040 zero controller
- Rubber dome switches
- Rubber Feet
- Special USB cable
Prep

Break apart the PCB to do so use some clippers to clip the mouse bites.
Soldering
Controller
Place your controller on the top side of the pcb (opposite of the hotswaps) and line up the holes in the pcb.
tip: it can be helpful to use some of the pins included with the controller to line up the contrler but we DO NOT solder the pins into the pcb.

once you have lined up the controller solder in one conner to lock it in place


After that you can continue around the controller and solder the rest of the pins.

Buttons
Solder one pad.

Reflow that ond pad and Push one of the switches into the liquid solder.

After one side is done solder the other side of the switch

Done

Finish the build
Place the PCB labeled as level 0 onto the back of your PCB

And solder through one of the holes on the level 0 plate.
Once you are happy with the alignment, do the other 2 holes.

Next lay level 2 onto the PCB over the installed switches and controller, and solder the holes together again.
Follow the same for Level 3


Build Done

Flashing.
Downloads
This kit uses the awesome gp2040-ce gamepad firmware
Download the file below.
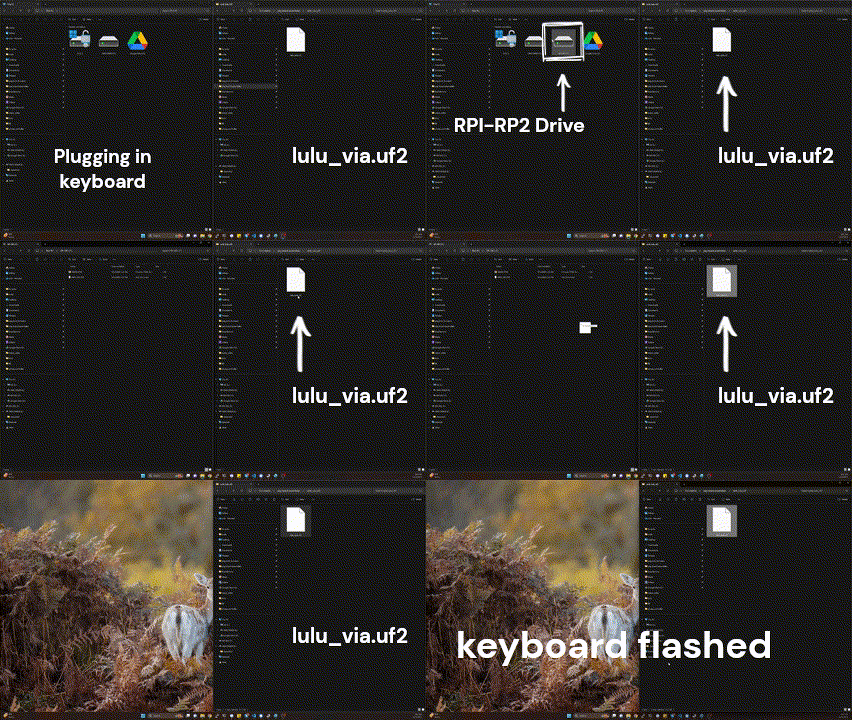
Once you have the file downloaded we need to flash the firmware. To do so you need to hold down the boot button on the blue controller in the center, while you plug in the controller to your computer.
After you do that it will show up as a drive and you can transfer the .uf2 file you downloaded from the first link.

